

Introduction
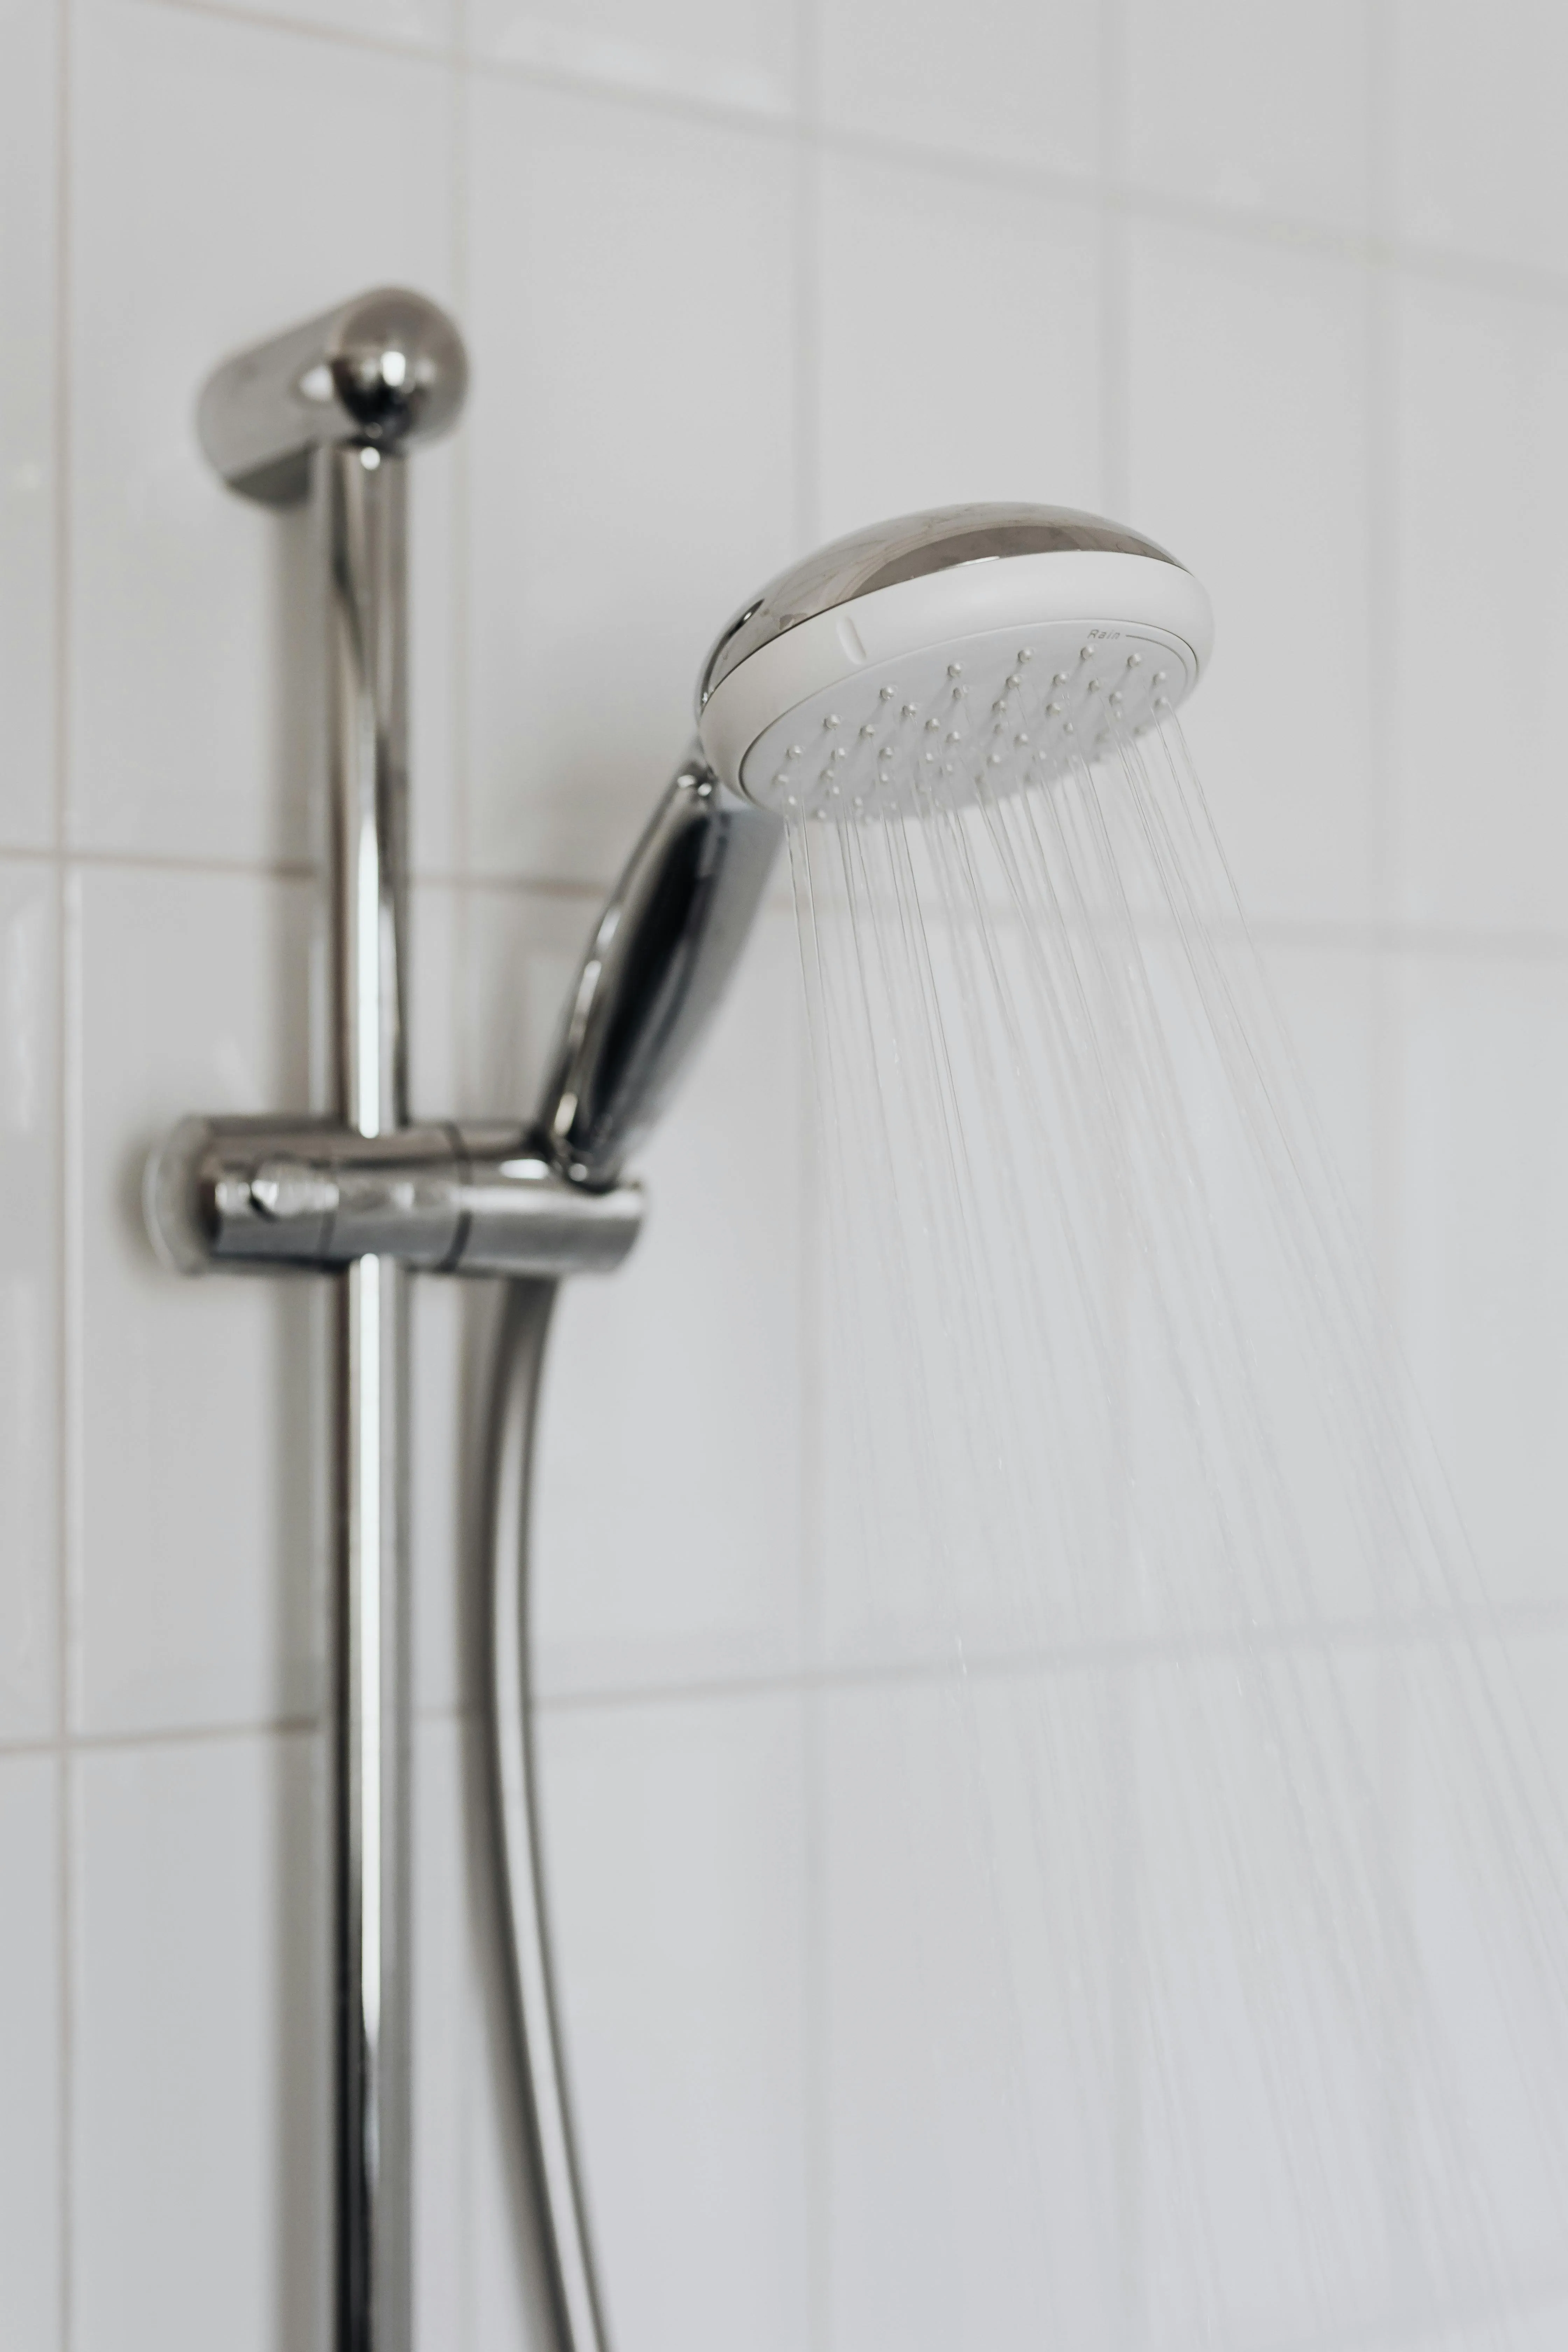
A leaky shower head is a common issue that occurs over time from normal wear and tear of the washers or O-rings inside the head. The good news is that fixing a leaky shower head is an easy DIY project that most homeowners can tackle in about 10-15 minutes with some basic tools and new washers.
The most common causes of a leaky shower head are deteriorated or torn washers or O-rings inside the head where it connects to the shower arm. Usually the leak comes from where the head pivots on the ball joint that allows it to move. As these rubber seals age, they become brittle, crack, and no longer provide a water-tight connection, allowing water to drip out around the ball joint. Replacing these washers or O-rings solves the problem in most cases.

To fix a leaky shower head, you'll need some basic tools and supplies:
- Adjustable wrench
- Pliers
- Teflon plumber's tape
- Replacement washers or O-ring kit (usually available at any hardware store for just a few dollars)
The repair itself is straightforward and should only take about 10-15 minutes if you have the right replacement parts on hand. We'll walk through the full process step-by-step in this guide.
Turn Off Water Supply
Before beginning any work on the shower head, you'll need to shut off the water supply to avoid leaking.
Locate the shutoff valve for the shower, which is usually found under the sink, behind the toilet, or in the basement. The shutoff valve will look like a knob or handle that controls water flow through a pipe.
Make sure you've identified the correct shutoff valve by turning it and checking if the shower loses water pressure. Once you've confirmed it's the right valve, turn it clockwise as far as it will go until the valve is fully closed and the water supply is completely turned off.
Turning on the shower handle briefly to release any remaining pressure in the pipes. Then you can safely proceed with disassembling the shower head without water leaking out. Just be sure not to turn the main water supply back on until the shower head is fully reassembled.
Disassemble the Shower Head
To fix the leak, you will need to disassemble the shower head to access the washers and seals.
First, remove the shower head from the pipe coming out of the wall. Unscrew it by hand, using a wrench if needed for a tight connection. Place the head on a towel to catch any drips.
Then, take apart the different components of the shower head. Many shower heads have an outer decorative cover that twists or pries off to reveal the inner working parts. Carefully pry off the cover.
Underneath you'll see a collection of washers, seals, spring tensioners, and the shower head engine with spray nozzles. The leak likely stems from a failing washer or seal, but inspect all pieces for wear or damage.
Arrange the components in logical order so you can properly reassemble later. Some shower heads contain many small parts that can easily get lost. Work over a tray and keep track of each piece. With the shower head disassembled, you can now move on to cleaning and replacing any faulty washers or seals causing the leak.
Clean Washers and Seals
Before reinstalling the washers and seals, it's important to thoroughly clean them. This will extend the life of your new washers and prevent debris from getting into the shower head system.
First, remove any debris, mineral deposits, or other gunk from the rubber washers and seals. You can use an old toothbrush, rag, or needle to gently scrub and dislodge any buildup. Pay close attention to the crevices and check for any embedded particles.
Next, rinse the washers and seals thoroughly under warm running water. Keep rinsing until the water runs completely clear. You want to remove all traces of dirt and residue. Gently rub with your fingers or a cloth as needed to loosen any remaining debris.
Proper cleaning of the washers and seals will help ensure a tight seal when you reassemble the shower head. Take your time to fully remove all contaminants before placing the new washers. Clean parts lead to better shower performance.
Replace Washers
Assessing if the washers need to be replaced is an important step before blindly replacing them. Examine the existing washers carefully and look for any cracks, tearing, distortion or hardness/brittleness. If the washers seem to be in good shape, they may not need replacement.
If replacement is needed, have the right washers on hand for your particular shower head model. Bring the shower head to the hardware store to match up the correct size and shape. Most standard shower heads use simple o-ring washers, but some fancier models require specialty washers.
Replacing the washers involves first removing the old ones. This may require prying them out with a small screwdriver or picking them out by hand. Ensure any leftover debris or mineral deposits are cleaned out of the washer grooves before inserting the new washers. Press the new washers firmly into position, matching the same orientations as the old ones. Applying a small amount of plumber's grease can help seat them properly. Take care not to over-tighten and damage the new washers.
Reassemble Shower Head
When reassembling the shower head, it is crucial to put all the parts back together in the correct order. This will ensure proper functioning once everything is reattached.
Start by placing the washer back into the shower head. Make sure it sits flat in the groove it originally came out of. Then take the faceplate of the shower head and screw it back onto the main shower head body, tightening it hand tight.
Next, insert the rubber gasket back into the connector nut. Place this nut back onto the pipe protruding from the shower wall and hand tighten it until snug.
Finally, take the shower head assembly and screw it onto the connector nut. Tighten it hand tight or until it feels secure. Be careful not to overtighten.
Once fully assembled, double check that all parts are firmly in place and fitted together correctly. The shower head should feel snug and secure when properly reassembled.
Reattach Shower Head
Once you've finished cleaning and replacing any washers or seals, you're ready to reattach the shower head. This is a simple process:
- Screw the shower head back onto the pipe protruding from the wall. Make sure to tighten it securely. You may need to use a wrench to ensure it is tightened properly.
- If the connection seems loose, wrap some plumber's tape (also called Teflon tape) around the threads before screwing the head back on. This will fill in any small gaps and create a tighter seal. Wrap the tape around the threads in a clockwise direction as you look at the pipe.
- Make sure the connection is tight and not leaking before fully turning the water back on. If it still leaks after tightening, you may need to add more plumber's tape or replace the washers/seals again.
- If it is still leaking, check that you have a gasket inside the connecting nut on the shower head. This rubber gasket creates the watertight seal. If it is worn out, replace it with a new gasket.
That's all there is to reattaching your shower head once any necessary cleaning or repairs have been made. Take your time tightening the connection and use plumber's tape if needed to prevent leaks. Test it before turning the main water back on. With a secure connection, your shower head will be as good as new.
Turn Water Back On
After reassembling and reattaching the shower head, you'll want to slowly turn the shutoff valve back on. This allows water to start flowing back through the pipes and to the shower head again. As you turn the valve, check carefully for any leaks at the connection points or around the shower head. Small drips may indicate the washers aren't fully sealed or the connection is still loose.
Keep turning the valve until water is flowing fully. Tighten connections as needed if you notice leaks. You may also need to adjust the shower head position to direct water flow properly. The angle and direction can change when removing and reattaching the head. Carefully turn the shower head until water flows straight down without splashing off at angles.
Test the water temperature as well. Let it run for a few minutes so you can check the temperature range and pressure. The flow should be even and consistent now without leaks if the washers and seals are replaced properly. If leaks continue, you may need to disassemble and reassemble again. With new washers in place, the shower head should function like normal.
Test Shower Head
After reassembling and reattaching the shower head, the final step is to turn the water supply back on and test the shower head.
Turn on the shower handle and let the water run for a few minutes. Check the connection points and fittings for any leaks. Tighten as needed.
Adjust the shower head and angle it to the desired position. Make sure all parts are securely tightened.
Let the shower run for several more minutes, checking the temperature and pressure. If the flow is uneven, try cleaning the shower head jets and filters again.
Finally, turn the shower on and off several times and observe the flow. There should be no drips when off and no sputtering when turned on. The shower head should have a smooth, even water flow without leaks.
If leaks persist, further disassembly and replacing of washers may be needed. But in most cases, a thorough cleaning and new washers will fix a leaky shower head.
Preventative Maintenance
While fixing a leaky shower head is a fairly straightforward process, there are some steps you can take to prevent leaks and keep your shower head working properly for longer:
- Periodically clean the shower head - Mineral deposits and sediment can build up in the shower head over time. About once every 3-6 months, unscrew the shower head and soak it in equal parts vinegar and water to dissolve any deposits. This will help keep the interior parts clean and prevent clogging.
- Replace washers annually - Rubber washers degrade over time and should be replaced once a year. Replacing the washers annually helps prevent leaks by ensuring a tight seal. It's quick and inexpensive to swap out the washers when you clean the shower head.
- Inspect seals for wear - Examine the seals each time you clean the shower head. Look for any tears, cracking, or flattened sections which indicate the seal is worn and needs to be replaced. Worn seals allow water to leak out. Replacing them proactively prevents leaks.
For more DIY tips and tricks, DIYwithHelp has got you covered…
If you need some professional guidance for your project, be sure to sign up for a free account with DIYwithHelp.com. Once you have an account, you can search our site (or fill out a project request form) and connect with expert tradespeople who are willing to lend their advice over scheduled video-calls.


