

Introduction
Over time, tile can become faded, chipped, or just feel generally outdated. While replacing tile can be an expensive and messy process, repainting tile is an affordable way to update the look of your bathroom, kitchen, or other tiled space.
Repainting tile has several advantages over replacing it:
- It's much more budget-friendly, with paint costing just a fraction of new tile.
- It's easier and less messy than tearing out and replacing tile.
- It allows you to change the color and look without changing the underlying tile.
However, there are some potential downsides to consider:
- Paint may not adhere as long-term as original tile. Proper prep and sealing is key.
- Grout lines will still be visible and may be harder to keep looking clean. They can be painted but require more maintenance.
- Paint has a glossier, less natural finish than original ceramic or porcelain tile.
The process involves thoroughly cleaning and preparing the tile, applying a tile bonding primer, painting on two coats of a specialized tile paint, and then sealing the finish. Proper prep and using the right products leads to longer lasting results.
Repainting tile can give a bathroom or kitchen a fresh new look in just a weekend and for a fraction of the cost of replacing tile. With some handy DIY skills and the right materials, you can transform your old outdated tiles.
Assess Your Tiles
Before painting tiles, it's important to assess the material and condition. Glazed ceramic and porcelain tiles have a protective coating that allows water to bead up and roll off the surface. Unglazed tiles are porous and need to be sealed before painting.
Inspect the tiles closely to identify any cracks, chips, or flaws. Damaged areas should be repaired prior to painting to prevent further deterioration. Test the tiles for looseness by tapping on them - any hollow or loose tiles should be reattached properly.
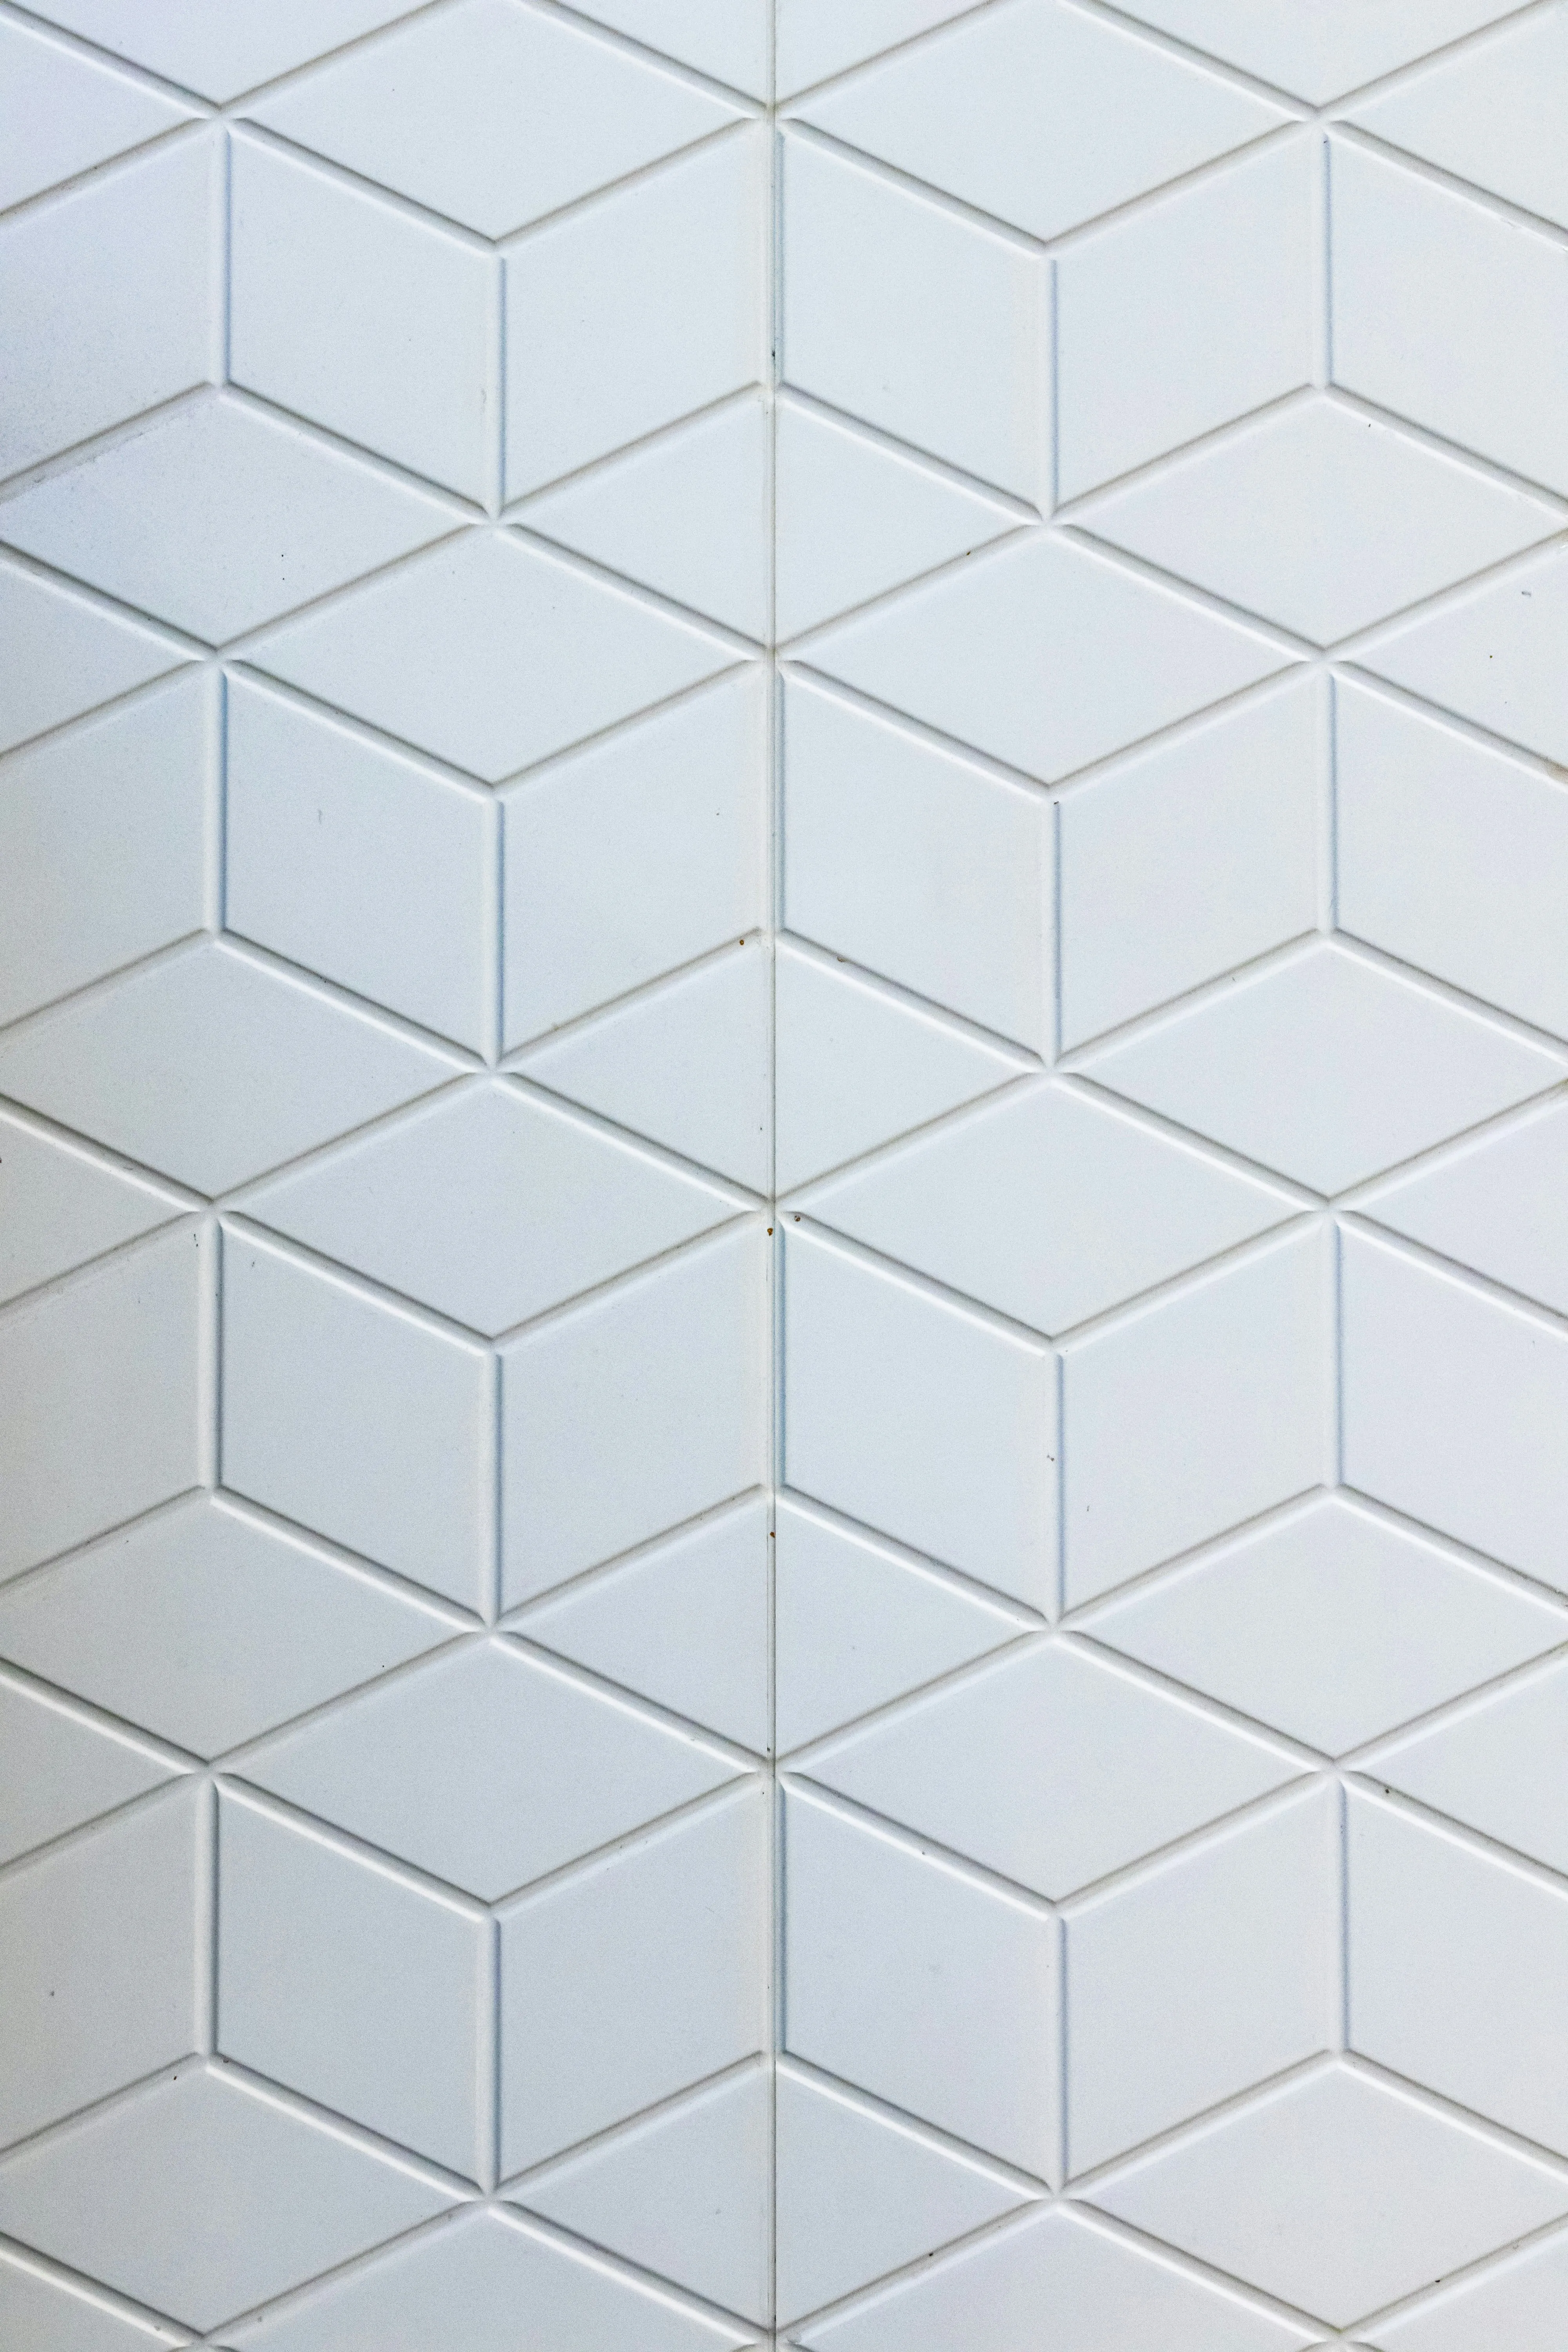
Examine the grout lines between tiles. Cracked or missing grout will need to be re-grouted for the best painted finish. The grout lines also determine the size of the tiles. Large format tiles have fewer grout lines for a more seamless look.
Finally, determine if the tiles have been sealed or treated previously. Any existing coatings or treatments will need to be removed completely before painting to ensure proper adhesion of the new paint. Old layers of paint may also need to be stripped off first.
Knowing the tile material, condition, size, and any existing treatments is key to planning the painting preparation and process.
Clean the Tiles
Before painting, it's crucial to thoroughly clean the tiles to remove any dirt, grime, soap scum, sealers, waxes, or oils. This allows the new paint to properly adhere to the tile surface.
Start by sweeping or vacuuming the floor to remove any loose debris or dust. Mix a solution of trisodium phosphate (TSP) cleaner or other degreasing cleaner with warm water according to the product instructions. Using a mop, sponge, or scrub brush, scrub every inch of the tile and grout lines with the TSP solution. This helps to cut through grease and lift dirt from the pores of the tile.
Rinse the floor several times with clean water to remove all TSP residue. It's important to remove all cleaner from the tiles, as any remaining residue can interfere with paint adhesion. Allow the tiles to fully dry before moving on to the next step.
If there are any particularly stubborn spots that don't come clean with TSP, try using a grout brush, grout steam cleaner, or mixing baking soda and vinegar into a paste to scrub away stuck-on grime. Rinse thoroughly after spot cleaning.
Once dry, wipe the tiles down with denatured alcohol using a lint-free cloth. This removes any remaining wax or greasy residue. At this point, the tiles should be completely free of any dirt, sealers, or buildup that could get in the way of the new paint.
Make Repairs
Before painting, it's important to make any necessary repairs to the tiles and grout. Fill any cracks or chips in the tiles or grout lines with a patching compound designed for that purpose.
- For small cracks in grout, use a grout pen or clear silicone caulk to fill them in. Work the caulk into the cracks with a fingernail or small tool.
- For chips or cracks in tile, sweep out any debris and apply a thin layer of epoxy tile repair compound with a putty knife. Level with the surrounding tile and allow to fully cure before painting.
- If any tiles are severely damaged or missing, they will need to be replaced. Carefully remove the damaged tile and scrape away old mortar. Apply new tile adhesive mortar and set a replacement tile piece, pressing it firmly into place. Allow the adhesive to cure fully before painting.
Proper tile and grout repair will provide a smooth, uniform surface for the paint to adhere to. Take your time with this step to ensure repairs blend in seamlessly. The results will be worth the effort for a professional paint finish.
Remove Fixtures
Before painting, you'll want to remove any fixtures on your tiles like outlet covers, switch plates, towel racks, soap dishes, etc. This prevents paint from getting on them and creates a smoother painting surface.
Start by unscrewing and removing all outlet and switch plate covers in the area. It's a good idea to label each one so you can easily return them to the right spot.
Next, remove any mounted bathroom fixtures like towel bars, toilet paper holders and shelves. You may need a screwdriver to detach them. Place hardware like screws and mounting brackets in a bag or cup so they don't get lost.
Also, take down removable shower attachments, shampoo caddies and shower curtains. Remove ugly or worn shower curtains and liners and replace them with fresh ones after painting.
For built-in fixtures like soap dishes and shelves that you don't want to remove, cover them with painter's tape to protect them from drips and splatters.
Thoroughly removing fixtures creates the necessary access to paint the entire surface of your tiles. It also prevents splattered paint on hardware you don't want to paint.
Apply Primer
Before painting your tiles, it's crucial to apply a primer designed specifically for tile. Using the wrong type of primer can result in the paint not properly adhering to the tile surface.
For ceramic, porcelain, and glazed tiles, use a bonding primer made for slick, non-porous surfaces. Apply a thin coat according to the manufacturer's directions. This helps the paint grip the smooth tile.
For textured tiles like quarry, cement, brick, or natural stone, use an acrylic primer made for masonry surfaces. Apply a liberal coat to penetrate and seal the porous tile. This provides a base layer for the paint.
Whichever primer you use, make sure the tile is completely dry first. Allow the primer coat to fully dry as well before painting. The right primer is essential to help the paint stick to the tile for a long-lasting finish.
Paint the Tiles
Apply paint in thin, even coats using a paintbrush or roller. Thin coats will help prevent drips, unevenness, and bubbles in the finish. Allow each coat to dry fully before applying the next coat. Read the manufacturer's instructions for minimum drying times between coats.
Typically 2-3 thin coats are needed for best coverage and an even color. Test a small area first to ensure proper adhesion and appearance before painting the entire surface. Apply paint strokes in the same direction for a uniform look. Work from top to bottom when painting vertically oriented tiles. For horizontal surfaces, work section by section. Maintain a wet edge by brushing back into still-wet painted areas to prevent lap marks.
Check for any missing spots and do touch ups after each coat. Once fully dry, the final coat should provide a smooth, even finish. Using multiple thin coats creates better results than applying one thick coat. This technique helps the paint stick to the tile properly for maximum durability.
Seal the Paint
After the paint has fully cured (refer to the manufacturer's instructions for recommended cure times), apply a clear polyurethane or other sealant to protect the painted finish. Using a sealant is a crucial step to ensure a long-lasting result, as it creates a protective barrier that prevents moisture damage, scuffs, and stains.
Select a water-based polyurethane for ease of application and quick drying time. An oil-based option provides a glossier finish but takes significantly longer to dry. Apply at least 2 coats of polyurethane with a brush, foam applicator, or paint sprayer, allowing proper drying time between coats.
The sealant effectively seals the porous painted surface, preventing household cleaners, water, and general wear-and-tear from deteriorating the paint. This lock-in the color and sheen of the finish for years to come. Properly sealing tile paint transforms an ordinary paint job into a durable, resilient finish able to withstand the demands of a high-traffic area.
Replace Fixtures
Now that the paint has dried fully, it's time to reinstall any fixtures that were removed before painting. This includes things like switch plates, outlet covers, vent covers, towel bars, toilet paper holders, and shower heads.
- Check all your removed fixtures to make sure they are clean and free of any paint drips or splatters before reinstalling them. Wipe them down with a clean rag if needed.
- Screw switch plates, outlet covers, vent covers, and other fixtures back into place. Make sure they are aligned properly and screwed in fully.
- For larger fixtures like towel bars or toilet paper holders, reanchor them into the wall using the appropriate hardware based on the wall material. Refer to the original mounting brackets or screws.
- Use plumber's tape on shower heads and faucets before screwing them back into place to prevent leaks. Make sure they are tightened fully.
- If you have any loose tiles or grout gaps from removing fixtures, fill and seal them before replacing the fixtures. This will provide the cleanest finish.
- Once all fixtures are reinstalled properly, test them to make sure they are functioning and secure. Give fixtures a final wipe down to remove any residual paint or dust from the reinstallation process.
Taking your time to properly reinstall all fixtures is an important finishing step that will complete your tile painting project and restore your space fully.
Maintain the Finish
Now that you’ve put in all that hard work repainting your tiles, you’ll want to keep them looking fresh for as long as possible. Here are some tips for maintaining your tile paint job:
Regular Cleaning
Use a mild detergent and water to clean your painted tiles regularly. This will remove any dirt, grime or soap scum that accumulates over time. Avoid abrasive cleaners or scrubbing pads, as they can wear down the protective sealant over the paint.
Reapply Sealant
Your tile paint job has a protective clear sealant applied over it. This helps protect the paint from moisture, stains and wear. Over time, this sealant can start to break down. Every 1-2 years, consider reapplying a fresh coat of sealant to renew the protection. Use a sealant specifically formulated for painted tiles.
Touch Up Paint Chips
In high-traffic areas, it's normal for your painted tiles to get the occasional ding or paint chip. When you notice chips or damaged areas, do a spot touch up with leftover tile paint. Lightly sand the area first before painting to help the new paint adhere.
Consider Recoating
If your tile paint job starts to show excessive wear, discoloration or damage in multiple areas, it may be time to do a full recoat. Lightly sand and clean the tiles, then apply 1-2 fresh coats of tile paint. This will revive the color and provide a clean looking finish. A full recoat every 3-5 years can keep your painted tiles looking like new.
With just a little routine care and maintenance, your repainted tile surfaces can stay looking freshly painted for years to come. Follow these tips to protect your hard work and investment.
For more DIY tips and tricks, DIYwithHelp have got you covered…
If you need some professional guidance for your project, be sure to sign up for a free account with DIYwithHelp.com. Once you have an account, you can search our site (or fill out a project request form) and connect with expert tradespeople who are willing to lend their advice over scheduled video-calls.

