


Introduction
An accessory dwelling unit (ADU), also known as a granny flat, in-law suite, or carriage house, is a self-contained living space on the same property as a main house. ADUs are growing in popularity as housing costs rise and homeowners seek creative ways to maximize their property.
Adding an ADU to your home comes with many benefits:
- Extra income - The ADU can be rented out for additional monthly income. This provides a great option for multi-generational living when an elderly parent or adult child moves into the ADU.
- Increased property value - ADUs typically increase the value of the property. It appeals to future buyers looking for rental income potential.
- Flexible space - An ADU can be used in many ways over time. Home office space, guest quarters, or space for a nanny or caregiver are all options.
The process of adding an ADU involves several key steps:
- Design - The size, layout, and aesthetic of the ADU needs to be determined. Maximizing space while following zoning laws is important.
- Permitting - Local zoning codes dictate the requirements for building an ADU. Permits and approval are required before construction.
- Build - Whether building new or converting existing space, the construction phase takes time and coordination.
- Utility connections - The ADU will need its own utility metering and connections.
- Completion - Final inspections take place before move-in and occupancy.
This guide covers the full process in detail, helping homeowners successfully add an ADU to their property. Let's get started!
Plan and Design
When planning and designing your accessory dwelling unit (ADU), there are several key considerations around size, layout, and aesthetics that are important to keep in mind:
- Size - Consider how many bedrooms/bathrooms and overall square footage you need. ADUs generally range from 300 - 1,000 sq ft. Assess how the ADU size complements the main house and fits within setbacks and lot coverage limits.
- Layout - Think about how you want the layout configured in terms of bedrooms, bathrooms, living areas, kitchen, laundry, and more. Consider accessibility as well if needed. Optimize the layout to maximize space and flow.
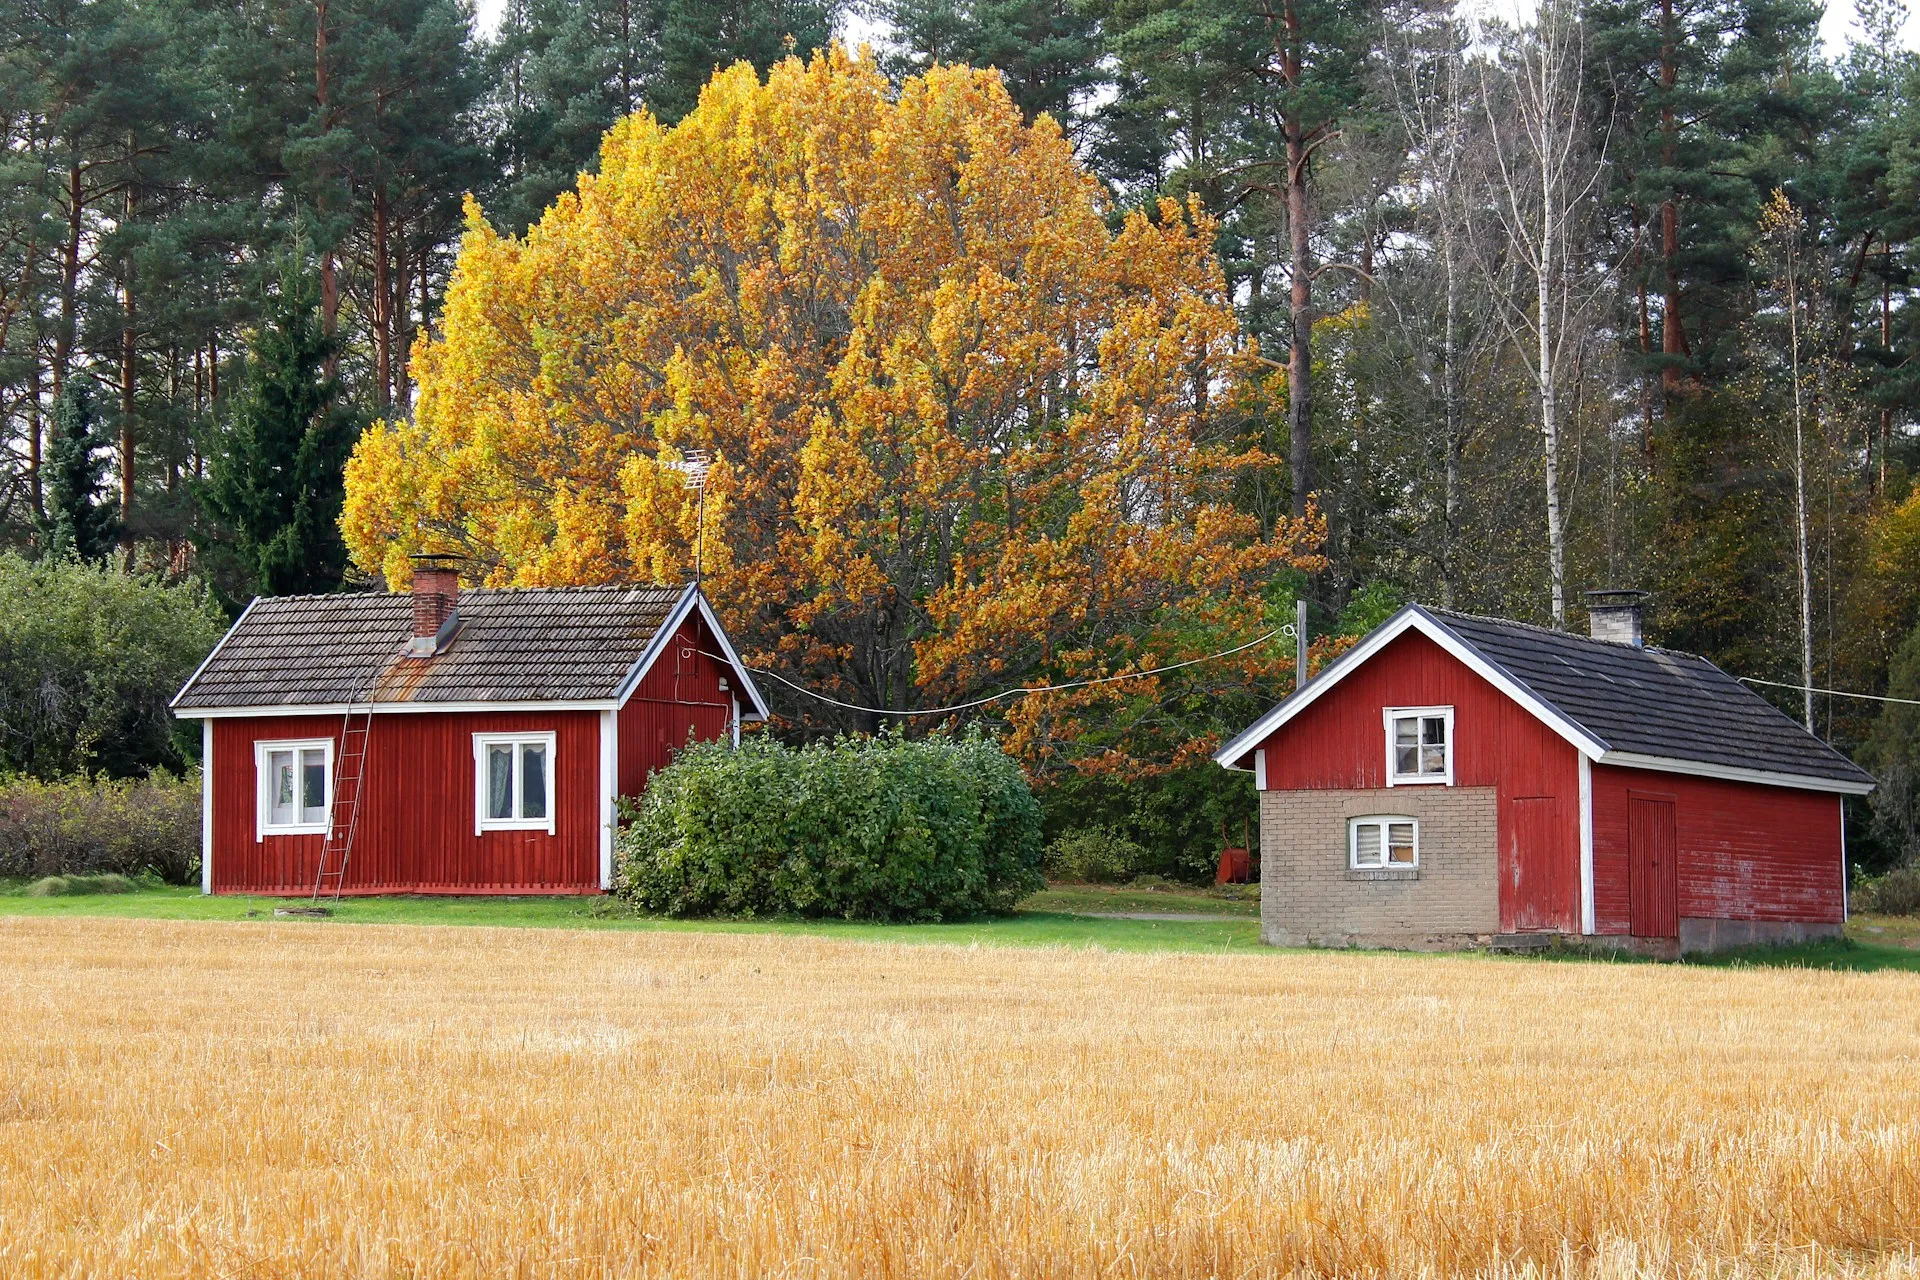
- Aesthetics - Design the ADU exterior and finishes to match the aesthetic style of your main house as closely as possible. Using similar colors, materials, architectural details goes a long way. Roof slope should match as well.
- Separation - Plan for the ADU to feel like a distinct, but complementary, living space. Include a separate entrance and outdoor area. Maintain privacy between the main home and ADU.
- Multi-purpose Spaces - Incorporate flexible spaces that can serve multiple needs, like a main living area that also has a murphy bed. This helps maximize use of space.
- Outdoor Areas - Factor in outdoor space for the ADU if feasible, such as a small deck or patio area. This expands living options.
- Sunlight - Optimize the design to allow natural light into all main living spaces, kitchen, and bathrooms to create an open, welcoming environment.
- Future Usage - Consider how the ADU could be used in the future. For example, an in-law suite or rental unit. Build in flexibility.
Permitting and Zoning
One of the most important steps in building an accessory dwelling unit is understanding the local zoning regulations and permitting requirements. The rules surrounding ADUs can vary significantly between different cities and counties, so it's essential to thoroughly research the specific laws for your area.
At a minimum, you'll need to investigate:
- Whether ADUs are allowed at all. Some municipalities still prohibit secondary units, though the trend has been toward allowing them in recent years.
- The types of ADUs permitted. Detached backyard cottages, converted garages, and additions to the primary house may be treated differently.
- Where ADUs can be located. Most allow them in single-family residential zones, but some restrict them only to larger lots or rural areas.
- Requirements like maximum unit size, height limits, lot coverage, and setbacks. These dimensional standards help regulate the scale and location of ADUs.
- Parking mandates. Many cities require off-street parking for an ADU, often one space. Newer laws are moving away from this.
- Owner-occupancy rules. Some areas require either the main home or ADU to be owner-occupied to prevent absentee ownership.
Once you understand the baseline regulations in your area, the next step is applying for an ADU building permit. The permit process usually involves submitting a complete application along with:
- Site plans showing the location and size of the existing and proposed structures
- Architectural drawings detailing the layout and elevations
- A description of the proposed building systems and materials
- Paying zoning, planning, permitting, and impact fees
Going through zoning early prevents an ADU project from being derailed later on, so be sure to do thorough upfront research and work closely with your local building department.
Finding a Contractor
Hiring the right contractor is critical for a smooth ADU build. Look for a licensed general contractor with extensive experience building ADUs specifically. They will understand the unique requirements, codes, and challenges involved.
Interview at least 3 contractors before selecting one. Ask for references from recent ADU projects and follow up with those customers. Ask about their typical timeline from design to completion. Request to see examples of their work.
Make sure the contractor is properly licensed for your state and city. Verify they have general liability insurance and worker’s compensation for employees.
Ask if they have experience obtaining ADU permits and working with local zoning regulations. Many areas have specific rules around setbacks, height limits, parking, and utilities.
Discuss the preliminary design and budget for your ADU. Get their advice on feasibility and recommendations for materials, layouts, prefabricated vs custom builds, etc based on your goals.
Make sure you understand the payment schedule and how change orders will be handled. Get everything in writing before signing a contract.
Hiring the right ADU contractor will make the biggest difference in staying on time and on budget. Their expertise can help navigate this major home improvement project.
Utility Connections
Connecting your ADU to existing utilities or installing new utility connections is a crucial part of the build. Proper utility hookups ensure your ADU has running water, electricity, and sewer/septic services.
Water
- If your existing home is on municipal water, you can tie the ADU into the existing water line. A plumbing contractor can handle this.
- For homes on well water, you may be able to tie the ADU into the existing well system. Check if your well pump has adequate capacity to service both homes. You may need to upgrade the pump or drilling a new well.
- Installing a separate water storage tank and pump for the ADU is another option. This keeps the ADU water system entirely separate.
- Consider installing water filtration and softening systems during the build if your area has hard or contaminated water.
Electricity
- An electrician can connect the ADU to your existing home's electrical service. Make sure your existing electrical panel can handle the added load.
- If inadequate, you may need to install a new upgraded electrical service panel. Consult your electrician.
- For maximum independence, install a separate electric meter and utility account just for the ADU.
- Choose energy efficient lighting, appliances, and HVAC systems to save on electric costs.
Sewer/Septic
- For municipal sewer, the ADU can tie into the existing sewer line. A plumber handles this.
- With septic systems, determine if the current septic tank and leach field can support the additional load from the ADU.
- You may need to enlarge the septic tank, install a new leach field, or add a second septic system just for the ADU. Consult a septic contractor.
- If installing a composting toilet or incinerating toilet, no sewer/septic hookup is required. Research local codes.
Foundation and Framing
The foundation of an ADU is a crucial structural component that must be properly installed to support the weight of the unit. There are several foundation options to consider:
Concrete Slab
A concrete slab foundation is the most basic and affordable option. It involves pouring a concrete slab directly on the ground to serve as the floor of the ADU. Reinforced steel rebar is added to the concrete for strength.
While simple and budget-friendly, a concrete slab provides no crawl space underneath and lacks insulation underneath. The slab can be cold in winter and may allow moisture penetration. Careful moisture barrier and vapor barrier installation is required.
Raised Concrete Slab
For improved moisture protection, an elevated or raised concrete slab foundation can be used. The slab is poured on top of a gravel base 8-12 inches above the ground. This allows space for insulation underneath while still using a simple concrete slab for the floor.
Crawl Space
Building the ADU over a shallow crawl space provides a full foundation wall and supports better insulation. The crawl space must be properly sealed and have good drainage and ventilation. Access hatches allow for inspecting utilities in the crawl space.
Basement
Where feasible, constructing the ADU over a full basement foundation provides maximum height and lots of usable storage or living space. However, basements significantly add to costs compared to other foundations. The excavation and concrete walls require heavy equipment and greater site prep.
Wood Floor Framing
The most common floor framing method involves using wooden joists spaced 16" on center. Plywood sheathing is installed over the joists, and finished flooring over the plywood. For maximum stiffness, joists should be properly sized and spans limited.
Wood Wall Framing
Typical wood frame wall construction uses vertical 2x4 or 2x6 studs spaced 16" on center. Studs are topped by double top plates and attached to bottom plates anchored to the foundation. Diagonal bracing is added to resist lateral forces. High-quality construction calls for straight, true, and properly nailed studs.
Exterior Finishes
Choosing Exterior Materials and Finishes
When building an accessory dwelling unit (ADU), selecting the right exterior materials and finishes is an important consideration from both aesthetic and functional perspectives. The exterior surfaces not only impact the curb appeal and visual cohesion with the main house, but also need to stand up to the elements while requiring minimal maintenance over time.
Siding
Fiber cement siding offers a versatile and durable option for many ADUs. It comes in various styles resembling traditional wood siding, but does not require painting or staining. James Hardie and CertainTeed are two popular fiber cement brands. Vinyl is another low maintenance siding choice, available in clapboard, shakes, vertical board and batten looks. Wood siding can also work nicely, but will need routine repainting or staining.
Roofing
Asphalt shingles are an affordable and ubiquitous roofing material for ADUs. Look for options offering at least a 30-year warranty. Standing seam metal also lasts decades, comes in various colors, and allows for a sleek, modern aesthetic. Wood shake or composite roofs can complement more traditional home styles but cost more upfront.
Windows and Doors
Windows and doors create visual interest while allowing natural light into the ADU. Opt for double-paned glass with vinyl, composite or fiberglass framing for durability and energy efficiency. Exterior doors should be steel or fiberglass to withstand weathering. Choose styles and colors that are visually cohesive with the main dwelling.
Other Finishes
Adding exterior accents like shutters, decorative trim, stone veneer, or vertical/horizontal siding combinations can provide attractive visual flair. Just be sure any additional elements match the overall design vision and integrate well with the existing home.
Interior Finishes
One of the most exciting parts of the accessory dwelling unit (ADU) build process is selecting the interior finishes that will make the space feel like home. The interior finishes include things like drywall, paint, trim, and flooring.
Drywall
Drywall is essential for finishing the interior walls and ceiling. Most ADUs use 1/2 inch drywall for the walls and 5/8 inch for ceilings. Drywall offers a cost-effective way to create smooth wall surfaces that are ready for priming and painting. Installing drywall is a major milestone, as it takes the ADU from a framed shell to feeling like a home. Be sure to use moisture-resistant drywall in bathrooms or other damp areas.
Paint
Painting is one of the easiest ways to add personality and style to your ADU. Neutral wall colors work well for small spaces, as they make the room feel light and airy. An accent wall in a bold color can add character. Use high quality latex paint that will stand up to wear and tear. Apply two coats for best coverage. For a smoother finish, lightly sand between coats. Paint the ceilings, doors, and trim to give the space a polished, professional look.
Trim
Installing trim like baseboards, door casing, and crown molding adds style and completes the drywall job. Use durable materials like wood, MDF, or PVC trim. Choose wide or decorative trim styles to create interest. Stain or paint the trim to coordinate with your color palette. Match the trim style in the main house for a cohesive look. Pre-primed trim saves time finishing.
Flooring
Flooring sets the tone for an ADU's style. Hard surface flooring like hardwood, tile, or luxury vinyl is easy to clean and withstands heavy use. Choose tile with slip-resistant properties for bathrooms. Floating floors like vinyl planks install quickly without glue. Area rugs add softness and warmth over hard floors. Use low-VOC adhesives and flooring when possible for better indoor air quality. Install flooring as one of the final steps once painting is finished.
With carefully selected interior finishes like drywall, paint, trim, and flooring your ADU can reflect your personal style while providing a comfortable, durable, and easy-to-maintain living space.
Systems Installation
Installing the plumbing, HVAC, and electrical systems is a critical step in completing your accessory dwelling unit. Proper planning and execution will ensure these systems operate efficiently and meet code requirements.
Plumbing
- Determine the plumbing layout based on your floorplan and think about the location of fixtures like sinks, toilets, shower/tub, washing machine, etc. Consider easy access to water lines and proper venting.
- Hire a licensed plumber to install new water supply lines, drain lines, vents, fixtures, valves, and shut-off valves. They can also help obtain permits and ensure the system meets plumbing codes.
- For efficient water flow, use 3/4" or 1" pipes for supply lines with a main shut-off valve. Use a sewage ejector pump if the new bath is below the main house's sewer line.
HVAC
- Decide on a cooling system such as a wall-mounted air conditioner or ductless mini-split system. Include heating like electric baseboards or a ductless heat pump.
- Properly size the HVAC system based on square footage and insulation. Work with an HVAC contractor for equipment selection and installation.
- Place indoor heads high on the wall and outdoor condenser units in an accessible location away from windows and doors. Provide adequate clearances.
Electrical
- Update the main electric panel if required and install a subpanel with adequate amperage for your electrical needs.
- Run wiring for interior lighting, outlets, appliances, bathroom exhaust fans, smoke detectors, CO detectors. Use 14/2 or 12/2 NM cable with 15 to 20 amp breakers.
- GFCI outlets are required in bathrooms, kitchens, laundry rooms, and outdoor outlets. Include dimmers for adjustable lighting.
- Consider smart switches, video doorbells, and other low-voltage systems. Hire a licensed electrician if DIY electrical seems complex.
Completion and Move-in
The last step is completing final inspections, paperwork, and officially moving into your new ADU. Here are some tips for this final stage:
Final Inspections
- Schedule a final inspection with your local building department once construction is fully complete. They will check that all work meets code requirements.
- Your contractor will assist with coordinating the inspection and being present to walk through with the inspector.
- Make sure you have all the necessary final sign-offs from the various required inspections before scheduling the final inspection. This may include plumbing, electrical, framing, insulation, etc.
- The inspector will check that all life safety requirements are met, such as proper railings, smoke detectors, ventilation, etc. They will also verify there are no code violations.
- If anything fails inspection, you'll need to fix it and have a re-inspection before obtaining your certificate of occupancy.
Certificate of Occupancy
- Once you pass the final inspection, you can obtain a certificate of occupancy from the building department. This certifies the ADU meets all code and requirements.
- The certificate of occupancy is required before anyone can legally live in the unit. Make sure to obtain this before move-in.
Tips for Move-In
- Change the address on your driver's license and update accounts to reflect your new primary residence if you plan to live in the ADU.
- Forward your mail with the post office. Provide keys and access to anyone who needs to access your main house for maintenance or other needs.
- Set up any final utility accounts and home services like internet or cable in the ADU. Perform any last deep clean before moving in furniture.
- Review appliance manuals and warranties so you know how to properly operate and maintain them.
- Celebrate your new space! Having an ADU provides flexible living options and space independence.
For more DIY tips and tricks, DIYwithHelp have got you covered…
If you need some professional guidance for your project, be sure to sign up for a free account with DIYwithHelp.com. Once you have an account, you can search our site (or fill out a project request form) and connect with expert tradespeople who are willing to lend their advice over scheduled video-calls.


