

Overview of DIY Tile Bathroom Projects
Tiling a bathroom is a great DIY project, and can be done relatively quickly with the right tools and materials. Preparing the space is the most important step before beginning the project. This includes making sure all walls and surfaces are clean and even, and that the correct adhesive and grout are used.
Fixing the tiles to the wall is the next step; this can be done with a trowel and adhesive. Once all the tiles are in place, it is important to use the right grout to fix them together and seal them, ensuring a protective and sturdy finish. With the right tools, preparation, and techniques, fixing tiles in a bathroom can be a successful DIY project.
It's important to make sure you plan out your design ahead of time, as it can save you time and money in the long run when undertaking any DIY tile repair project. Knowing the size and shape of the tiles you need, as well as the tools you will need, is essential in ensuring you have a successful project.
Furthermore, if you have any questions or doubts, it is important to seek advice from an expert or do further research in order to fully understand the process. Find your DIYwithHelp.com expert if you need help at any stage.
It is essential to properly prepare the walls when tiling your bathroom, as this will ensure that the tile adheres securely and can be enjoyed for years to come. Without proper preparation, there is a risk that tiles may not stick well or are more prone to water damage. Investing in quality materials and taking some extra time to properly prepare the walls before tiling will go a long way in ensuring a successful DIY tile project in your bath!
Planning to Tile
To appropriately plan your DIY tile project, it's good to start with a vision of what you want your finished product to look like. This will help you determine what materials you need and how much effort the project may require. It is important to take into account the existing condition of the surface that you plan to tile. If there is damage or issues with the surface, it is prudent to fix them before beginning.
Having a budget in mind can also be beneficial, as you may need to purchase supplies or tools in order to complete the job. Overall, setting a plan and being prepared are key steps to succeeding at a DIY tile project. You also need to make sure you have the right tools and supplies on hand before beginning any DIY tile fix. These likely supplies you’ll need include a trowel, grout, tile adhesive, and spacers.
A trowel is used to apply tile adhesive, while grout helps fill in the gaps between tiles. Spacers are also key, as they help to ensure that all tiles are evenly spaced. Once you have all the necessary supplies, it's time to start laying the tile.
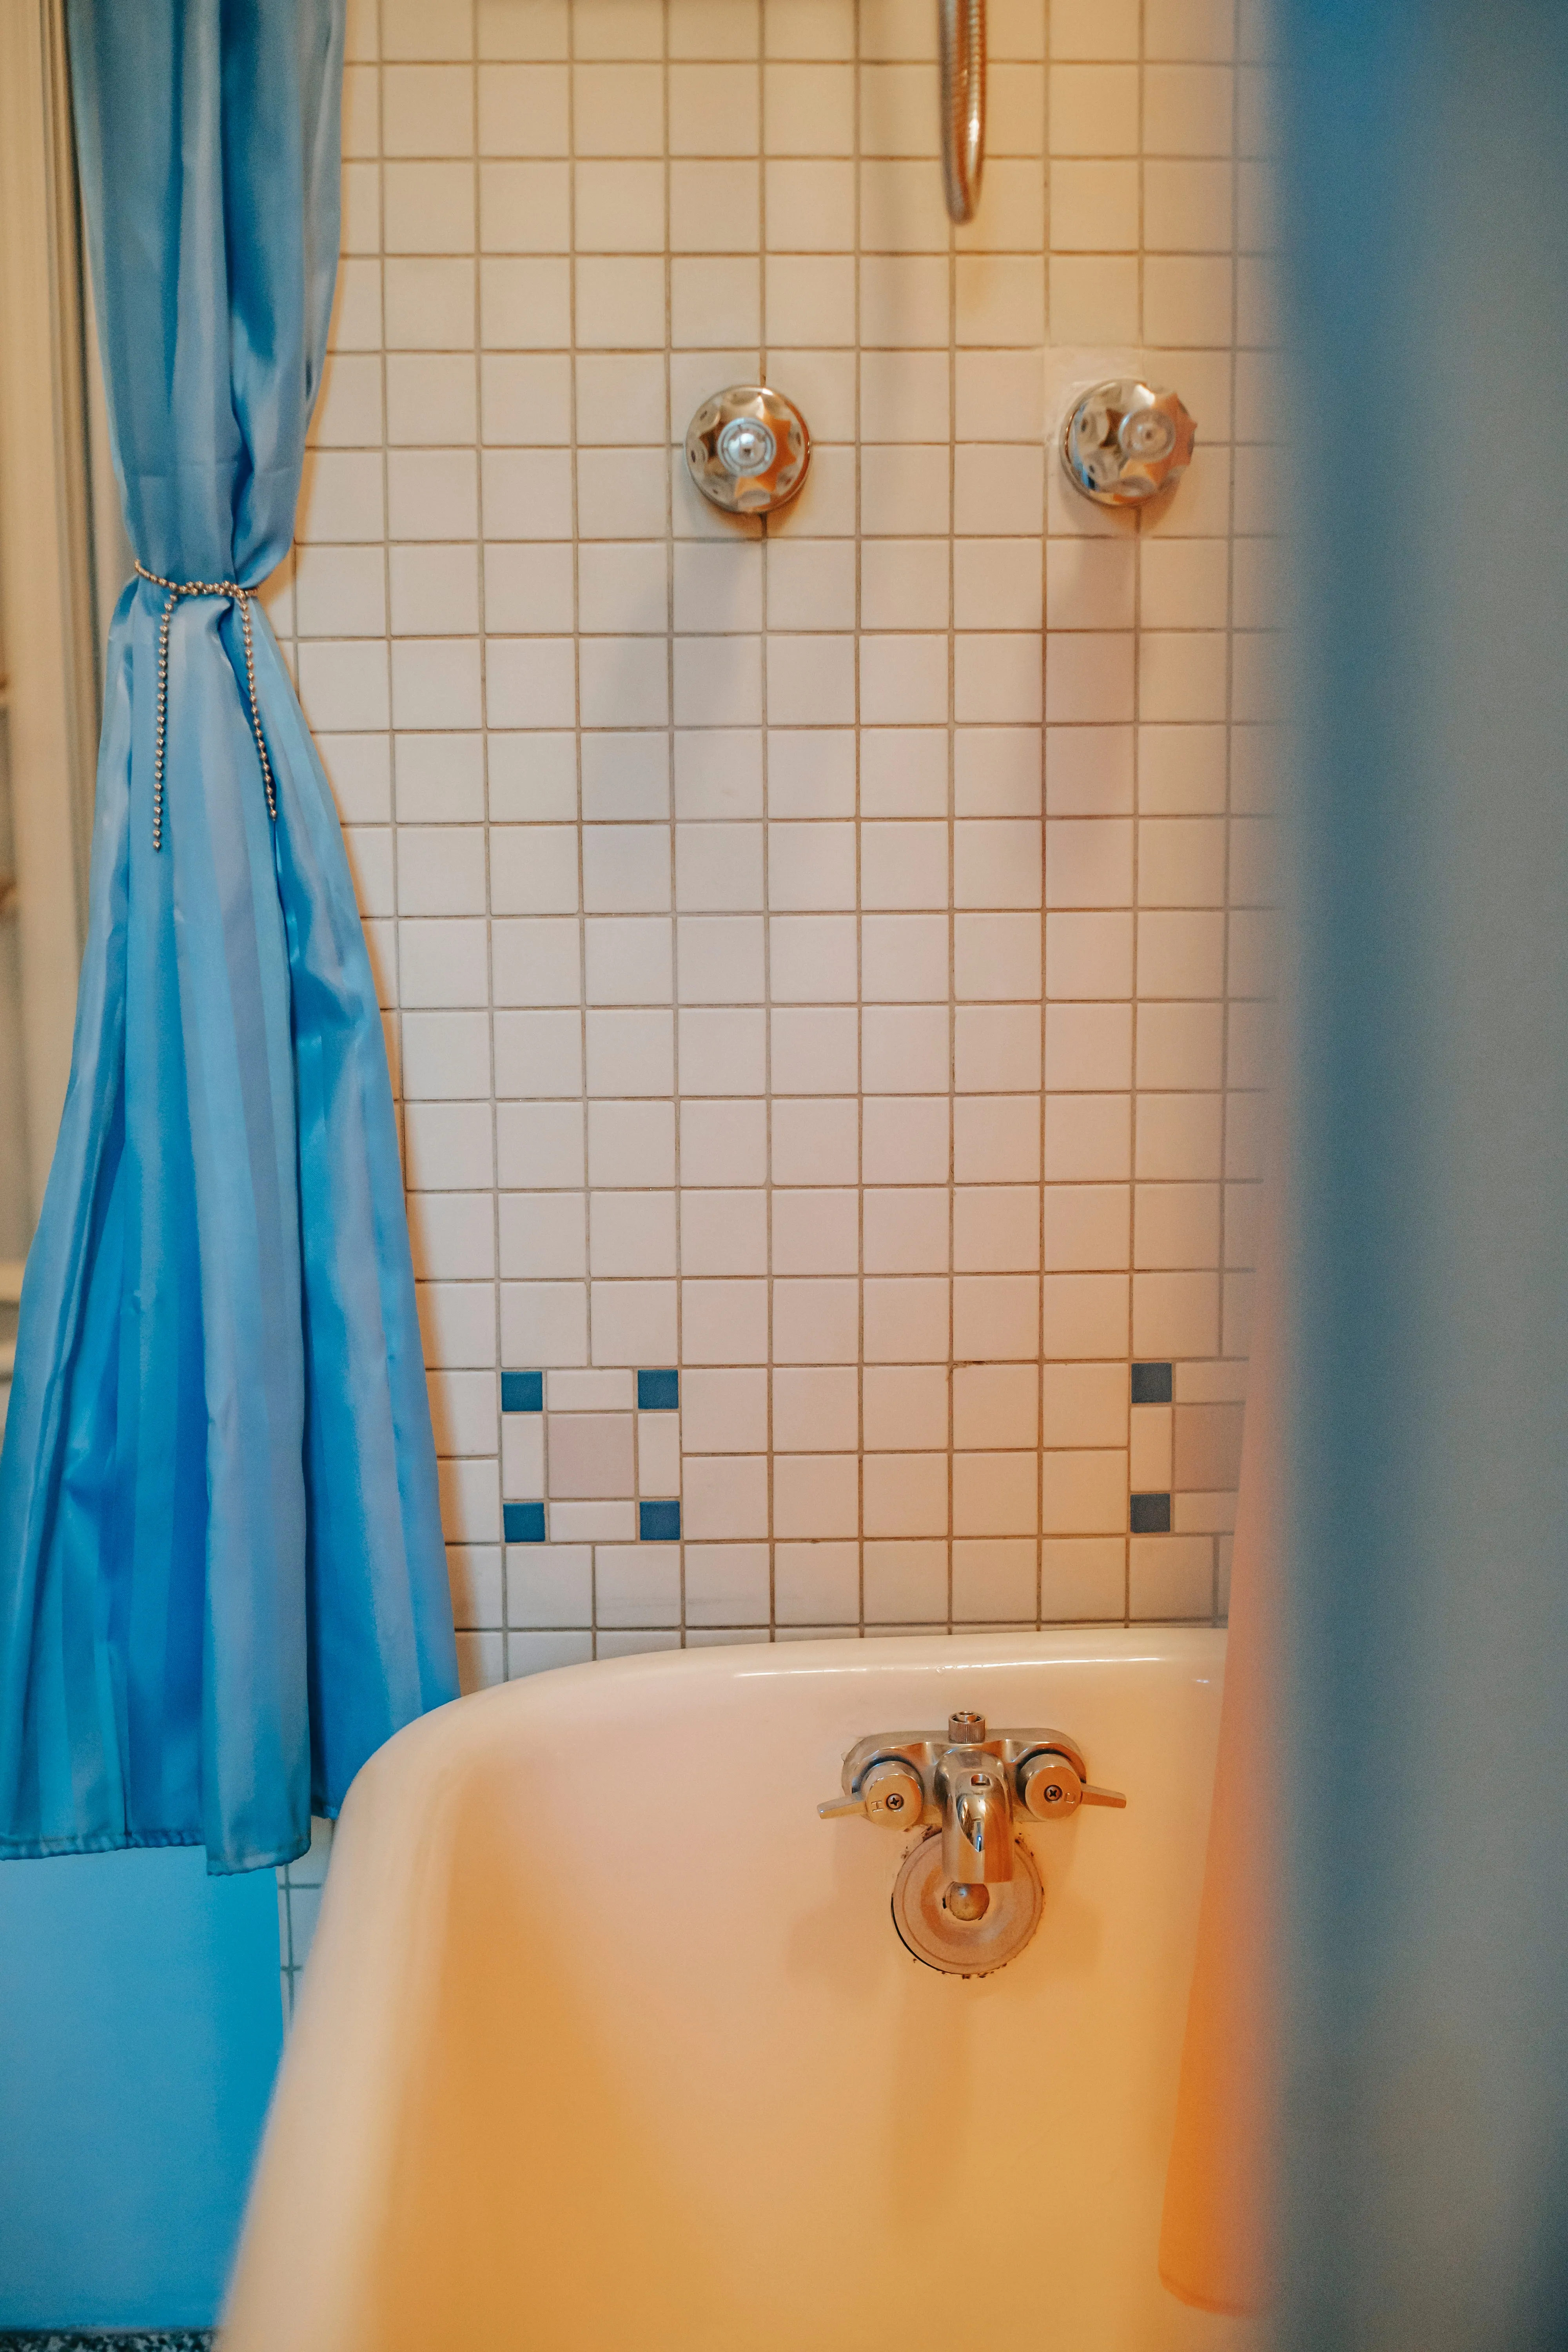
Choosing the Right Tiles
It's important to select the right tile based on the environment and desired look. Additionally, consider the material of the tile; some materials are more durable than others, so consider the environment when selecting the tile. You should also consider how much maintenance the tile requires, such as sealing and regular cleaning.
When installing tile in your bathroom, product characteristics matter a great deal. Natural stone tile, such as granite and marble, should be sealed regularly to protect it from water and other elements. Ceramic tile is typically more durable and requires less maintenance, though you may need to clean it more frequently.
For a DIY project, opt for a tile that is easy to cut and install. Glazed ceramic tiles are the easiest for novice DIYers, and are available in a variety of shapes and sizes. Before beginning your project, make sure you have all the necessary tools and materials in order to complete it safely and successfully. When it comes to DIY tile for your bathroom, there is a wide range of options available. Be sure to carefully consider each one's advantages in terms of durability, stain-resistance and slip-resistance before making your purchase. Doing so will ensure your project ends up with the perfect tile that you are looking for and fits within the budget you've allocated.
Prepping the Surface for Tiling
Before starting any tiling project, make sure the surface is clean and free from dust, grease, and other debris. This is essential to ensure that your tile will adhere properly and last. For best results, use a damp cloth to wipe down the surface, followed by a vinegar-water solution to ensure all debris is removed. If you are replacing existing tile, be sure to take out all of the old grout and clean the surface thoroughly. Cleaning the surface prior to tiling will make the process much easier and ensure great results.
When you’re working with tile flooring, a bonding primer will ensure that your tile has a stable base on which to adhere, meaning that no matter how much traffic it receives or how many years pass, it will remain just as intact as when you carefully laid the first one.
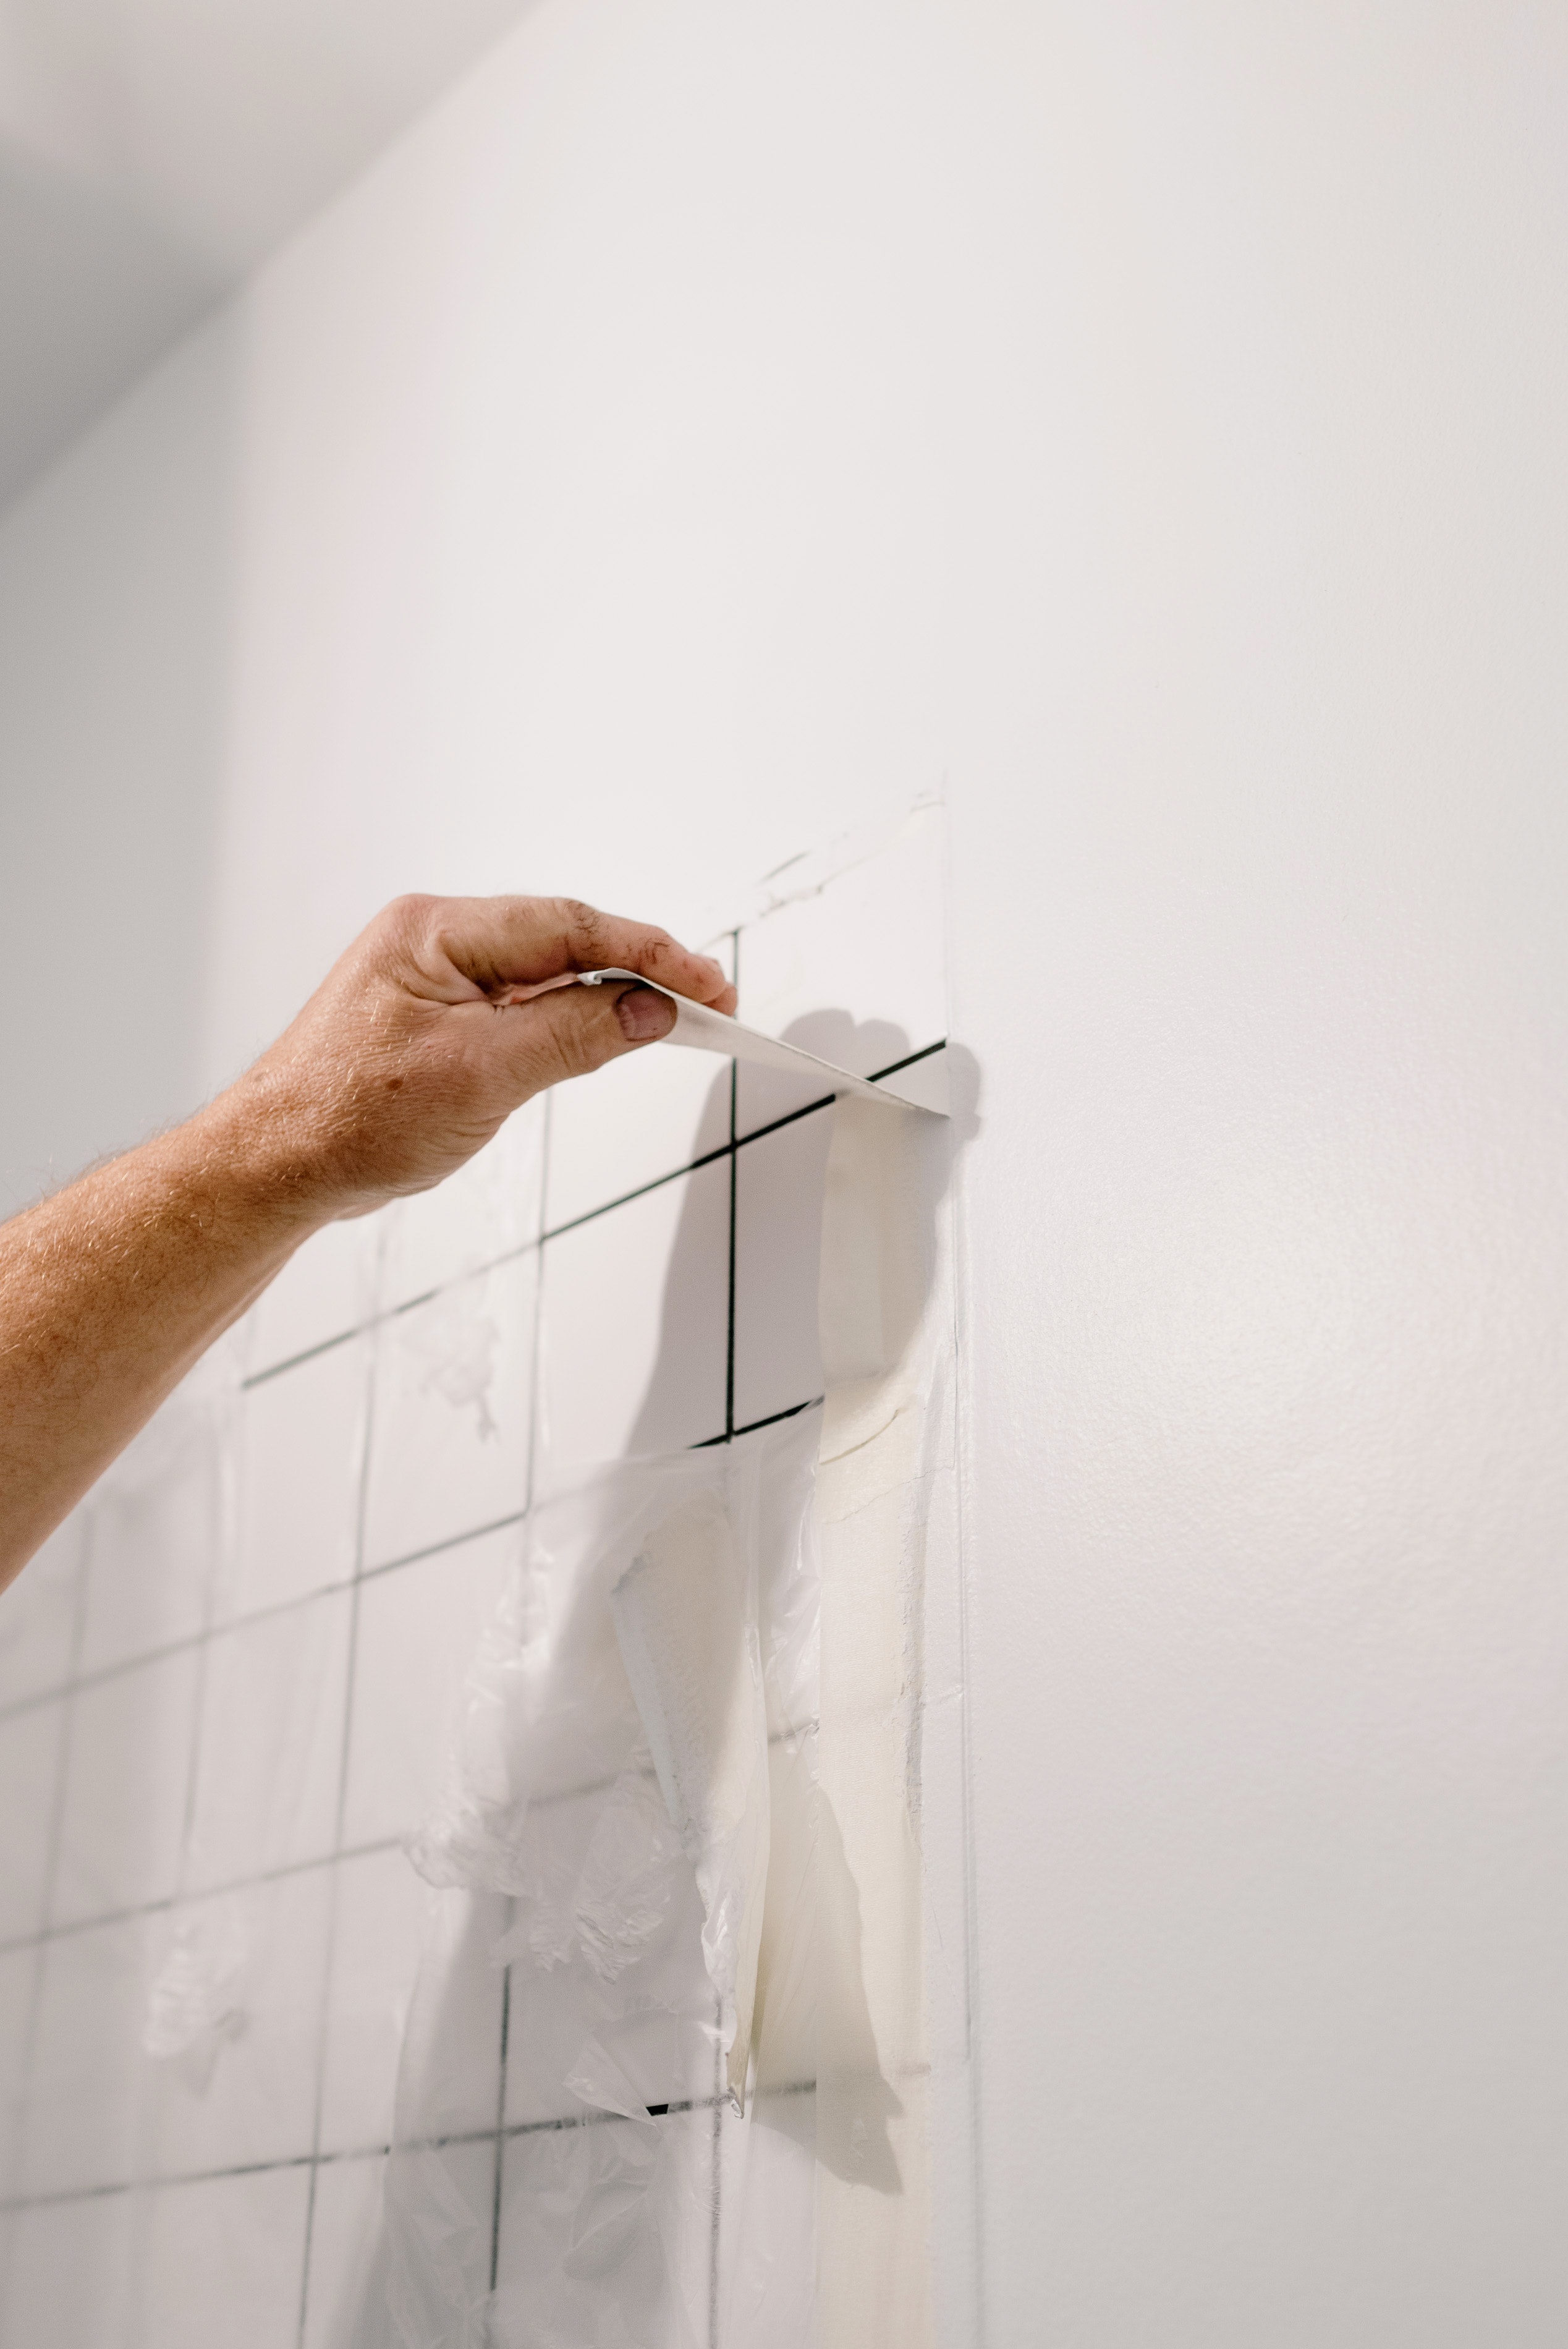
Installing the Tiles
Start by measuring the space you need to tile and then cut each tile to size with a wet saw. This is an essential step in any DIY tiling project, especially when it comes to tiling a bathroom. You need to make sure each tile is cut to the exact size and shape to ensure the best results. Once your tiles are cut, it's time to lay them in place and grout.
Before laying the tiles, diagram out on the floor where each piece should go and make sure it is level. This will help you to ensure accuracy when replacing the tiles and help you to achieve the desired look. Aligning the tiles correctly is essential to achieve the desired look. After laying the tiles, press firmly and grout them with a flexible grout to ensure a gap-free bond between the tiles. Additionally, when you're finished with your DIY tile project in the bath, make sure to apply a sealant or protective finish.
Finishing Touches
Voila - you now have a beautiful tiled surface that you can be proud of! You can also add decorative accents such as trims or jewels to add more character to your tile project. Doing so can help elevate the look of a space, while also providing additional protection to your tile. Adding the sealant or protective finish will help ensure that dirt and moisture won't damage the tiles and the grout will stay intact. Regular cleaning and maintenance of these protective layers is key to making sure that your DIY tile project will last through the years.
For more DIY tips and tricks, DIYwithHelp have got you covered…
If you need some professional guidance for your project, be sure to sign up for a free account with DIYwithHelp.com. Once you have an account, you can search our site (or fill out a project request form) and connect with expert tradespeople who are willing to lend their advice over scheduled video-calls.


